
Bathroom Remodel From Start to Finish
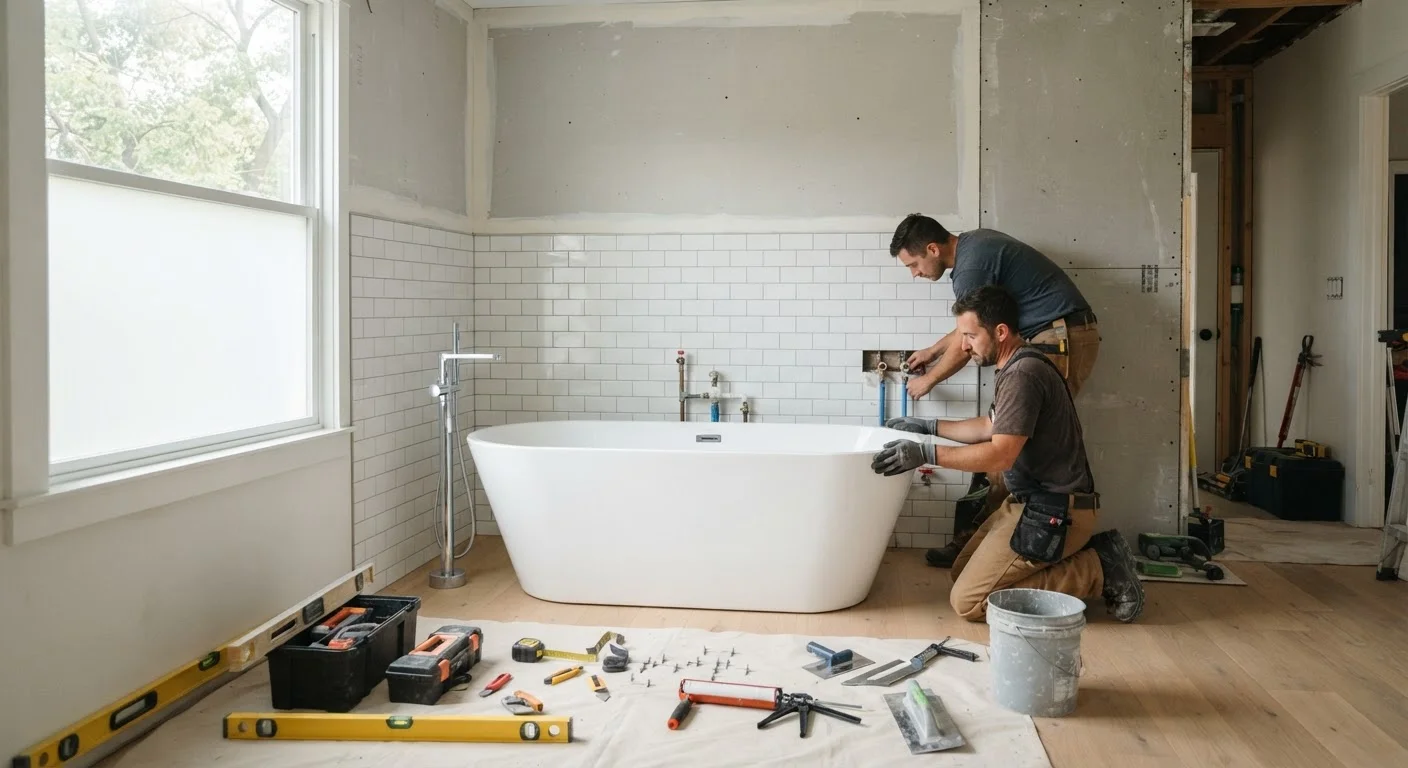
Photo credit: ExplorerGrid.com | Endless Grid Of Factual Content
In this article
Scope, sequence, and decisions explained—from demolition to finishing touches—so your bathroom renovation stays on track.
Key Takeaways
- Defining scope and layout early prevents costly mid-project changes to plumbing and electrical.
- Permits are typically required for plumbing, electrical, and structural work — skipping them risks resale complications.
- Work follows a strict sequence: demo, rough-in, waterproofing, tile, then fixtures and finishes.
- A 15–20% contingency budget cushions against hidden water damage or subfloor rot.
- Licensed professionals should handle electrical panel work, gas lines, and load-bearing modifications.
Define Scope Before Anything Else
The most effective bathroom remodels begin not with a sledgehammer but with a clear written scope. Before selecting tile or booking a contractor, answer three foundational questions: Are you moving the toilet, tub, or shower drain? Are you expanding the footprint? And what is your non-negotiable budget ceiling?
Relocating drains means cutting into the subfloor and potentially the floor joists below — a significant cost driver. Keeping fixtures on their existing rough-in locations is almost always more economical. If you are unsure what rough-in plumbing means for your layout, our plain-language glossary of home improvement terms explains the concept clearly.
Document your scope in writing — dimensions, existing fixture locations, desired changes — before you speak with any contractor. This document becomes the basis for accurate bids and prevents scope creep later. Our room-by-room renovation planning checklist walks through every pre-project decision worth resolving at this stage.
Permits, Codes, and Licensed Trades
Bathroom remodels routinely trigger permit requirements. In most US jurisdictions, you will need a permit for any work that involves moving or adding plumbing supply or drain lines, altering electrical circuits or adding outlets, or modifying a load-bearing wall. Cosmetic replacements — swapping a vanity, re-tiling a shower surround without waterproofing work — may not require a permit, but verify with your local building department before assuming.
Unpermitted Work Carries Real Risk
Unpermitted work that should have been permitted can surface during a home sale inspection, potentially delaying or derailing the transaction. It can also void homeowner's insurance coverage for related damage. When in doubt, pull the permit — the cost of a permit is modest compared to remediation costs or a failed sale.
Unpermitted work that should have been permitted can surface during a home sale inspection, potentially delaying or derailing the transaction. It can also void homeowner's insurance coverage for related damage. When in doubt, pull the permit.
Licensed plumbers and electricians are legally required for most jurisdictions when connecting to the main supply, drain-waste-vent (DWV) system, or the electrical panel. Always ask contractors for their license number and verify it with your state licensing board before signing any agreement.
The Right Sequence: Demolition Through Rough-In
Following the correct work sequence prevents you from damaging finished work you have already paid for. A standard bathroom remodel follows this order:
- Demolition: Remove existing tile, fixtures, vanity, and flooring. Protect the toilet flange. Shut off water supply and cap lines before demo begins.
- Subfloor inspection and repair: Once the floor is exposed, look for soft spots indicating rot or water damage. Repair now — it is inaccessible once the new floor goes in.
- Rough-in plumbing: Move or extend supply and drain lines to their new locations. This work happens inside walls and floors before any drywall goes up.
- Rough-in electrical: Run new circuits, add GFCI outlets (required near water sources by code), and rough in lighting locations.
- Inspection: In permitted projects, a rough-in inspection occurs before walls are closed. Do not skip this step.
- Cement board or waterproof backer: Install moisture-resistant substrate in wet zones. Standard drywall is not appropriate behind shower tile.
Order all tile and materials at least two weeks before demo begins and store them in the space to acclimate — especially natural stone and large-format porcelain. This also lets you identify damaged pieces before the installer is on-site.
Material lead times and damage discovered mid-project are two of the most common causes of unexpected delays and added labor costs in bathroom renovations.
When budgeting for a full gut renovation, price your fixtures first, then work backward to align labor and materials — not the other way around. Fixture costs have the widest range and the greatest influence on overall project feel.
Homeowners who select fixtures late often face the choice of exceeding budget or compromising on the elements most visible in daily use.
With rough-in work inspected and approved, the project shifts to the finishing phase.
Tile, Fixtures, and Finishes
Tile installation is where the bathroom's character takes shape, but it is also where sequencing errors are most visible. Tile the shower walls before the floor so that grout lines can be planned to meet cleanly at the threshold. Set the shower pan or prefab base first if you are using one, as wall tile overlaps the pan flange.
Waterproofing membranes — either sheet-applied or liquid-applied — must cure fully before tile is set over them. Rushing this step is a leading cause of future tile failures and moisture intrusion behind walls.
Install fixtures in this order after tile is complete and grout has cured: shower valve trim and showerhead, tub filler (if applicable), vanity and sink, toilet, mirrors, and accessories. Toilet installation should be among the last tasks to avoid damage to the porcelain during heavy traffic through the space.
Natural stone tile requires sealing before grouting and again after grouting. Porcelain and ceramic generally do not, but confirm with the tile manufacturer's guidance.
Managing Budget and Avoiding Common Pitfalls
Bathroom remodels are second only to kitchens in their potential for cost overruns — though typically at a smaller absolute scale. The most reliable cost-management practice is building a 15–20% contingency into your budget from the start, not as an afterthought. Hidden water damage, outdated wiring that must be brought up to code, and asbestos-containing materials in older homes are all realistic discoveries during demo.
If you are curious how bathroom cost dynamics compare to a larger project, see our guide on keeping kitchen renovation costs from ballooning for strategies that transfer directly.
Three common pitfalls to avoid:
- Changing decisions mid-project: Altering tile selection after it has been ordered, or moving a fixture after rough-in, adds real cost. Finalize all selections before demo begins.
- Underestimating labor time: A bathroom remodel typically takes two to four weeks for a full gut renovation, longer if custom elements or special-order materials are involved.
- Skipping ventilation upgrades: A properly sized exhaust fan (rated in CFM for the room's square footage) is essential for long-term moisture control. It is far less expensive to upgrade it during a remodel than afterward.
Final Inspection and Punch List
Before declaring the project complete, conduct a systematic punch list review. Run water through every fixture and check under the sink and at the toilet base for any drips. Test the GFCI outlets by pressing the test button. Turn on the exhaust fan and verify it vents outside — not into the attic. Check that grout and caulk lines are complete and that caulk (not grout) is used at all changes of plane, such as where the wall meets the tub deck.
If your project required permits, your final inspection with the building department closes out the permit and creates a legal record of the work. Keep a copy of the inspection sign-off with your home records — it is a meaningful document when you eventually sell.
A thorough bathroom remodel, planned and sequenced correctly, can reliably serve your household for 15 to 20 years before significant maintenance is needed again. That durability starts with decisions made before the first tile is set. For a broader view of how bathroom work fits into whole-home upkeep, see our complete home maintenance owner's resource.

Author
Home & Garden Editorial Team
Home & Garden Editorial Team is the collective byline for our editorial team and contributor network. Articles published under this byline or an editorial pen name are researched, written, and reviewed according to our editorial standards for clarity, consistency, and independence before publication.
View all articles →