
Grout, Caulk, and Tile: Bathroom Surface Maintenance Explained
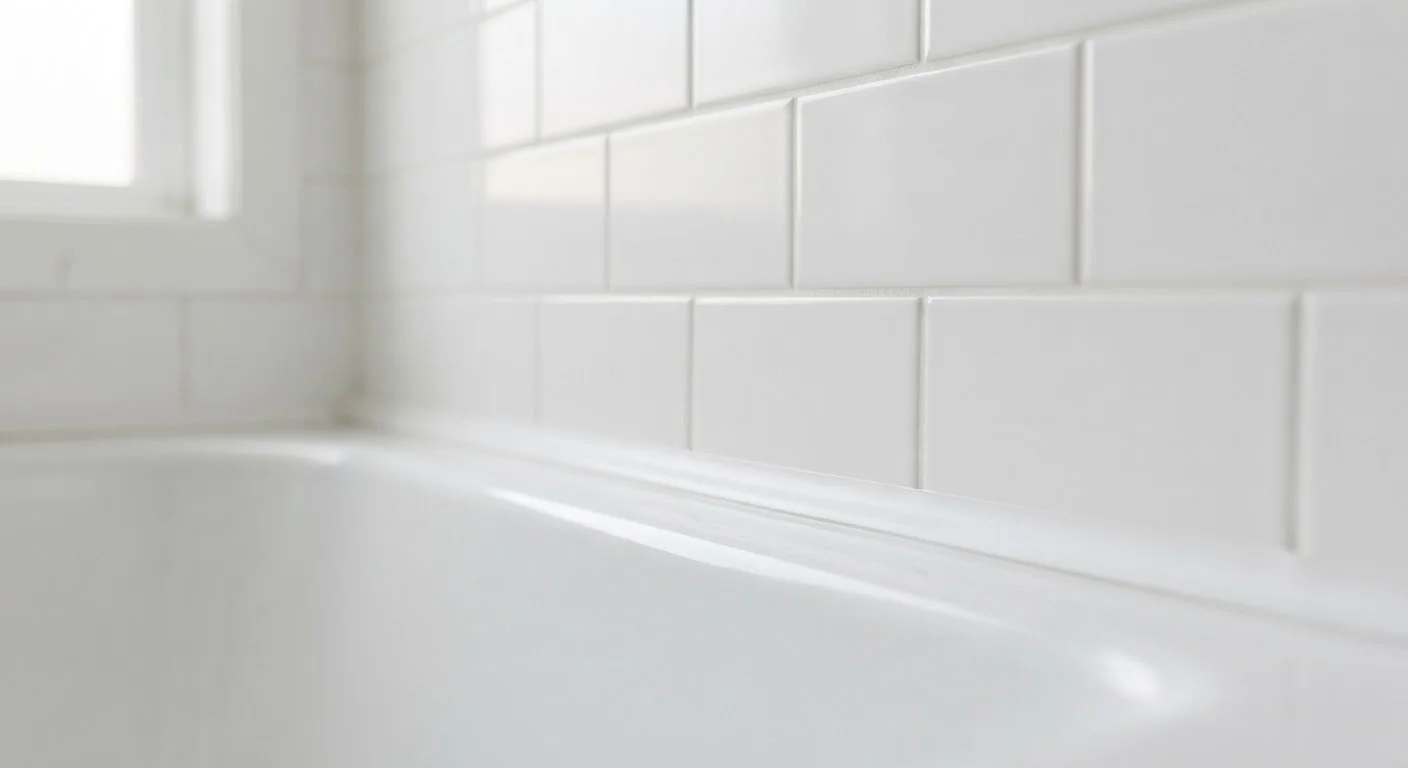
Photo credit: ExplorerGrid.com | Endless Grid Of Factual Content
In this article
Bathroom surfaces degrade quietly over time. Understand what causes grout failure, when to recaulk, and how to prevent water intrusion.
Key Takeaways
- Grout and caulk serve different structural roles and require different maintenance approaches.
- Caulk at movement joints should typically be inspected and replaced every one to five years.
- Discolored, cracked, or crumbling grout is an early warning sign of potential water intrusion.
- Sanded grout belongs in wide joints; unsanded grout suits narrow joints of less than an eighth of an inch.
- DIY regrouting and recaulking are manageable tasks, but hidden moisture damage warrants a licensed professional.
Why Bathroom Surfaces Fail — and Why It Matters
Bathrooms endure more moisture, heat, and humidity cycling than almost any other room in the house. This constant stress quietly degrades the materials that keep water where it belongs. When grout cracks or caulk pulls away, water finds a path behind tile, into wall cavities, and eventually into subfloors — damage that is far more expensive to fix than the original surface repair would have been.
Understanding what each material does is the first step. Grout fills the gaps between tiles and provides structural stability to the tile field. Caulk, by contrast, is a flexible sealant designed to accommodate movement — it belongs at corners, transitions between planes, and anywhere two different materials meet. Treating these as interchangeable leads to premature failure of both.
This guide is part of a broader maintenance approach; for a complete view of how bathroom surfaces fit into your home's overall upkeep, see the complete owner's maintenance resource.
Reading the Warning Signs
Most surface failures give visible cues well before water damage becomes serious. Inspect your bathroom surfaces every six months — make it a habit when you change smoke detector batteries.
Paying attention to these signals early can spare you from a costly renovation. If you're already weighing a more extensive project, the bathroom remodel planning guide explains how surface condition factors into demolition and replacement decisions.
Recaulking: When, Where, and How
Caulk is intentionally sacrificial — it is meant to be replaced. Joints at the tub-to-wall transition, around the shower pan, at inside corners, and where tile meets a different surface (such as a vanity countertop) all rely on caulk's flexibility to stay watertight through the building's natural movement.
Before applying new caulk, old material must be removed completely. Leaving remnants underneath causes poor adhesion and early re-failure. Use a plastic scraper or an oscillating tool on a low setting, then wipe the joint with isopropyl alcohol and allow it to dry fully — damp surfaces prevent proper bonding.
Choose a caulk formulated for wet areas: 100% silicone offers the best long-term water resistance and mold resistance, though it requires mineral spirits for cleanup and is harder to tool. Siliconized latex products are easier to apply and clean up with water, but may not last as long in high-splash zones. For broader guidance on choosing the right sealant for gaps throughout your home, see caulk vs. weatherstripping explained.
Regrouting and Preventing Moisture Intrusion
Not all grout problems require full removal. Surface discoloration from mold or mildew can often be addressed with a grout-specific cleaner and a stiff-bristled brush. However, cracked, crumbling, or hollow-sounding grout — tap with a coin to detect voids — must be removed and replaced. Applying new grout over compromised material simply delays the problem.
When removing old grout, an oscillating multi-tool with a grout-removal blade is the most controlled option. Work carefully to avoid chipping tile edges. Vacuum out all debris before mixing new grout to the manufacturer's consistency recommendations.
Match your grout type to the joint width: sanded grout (which contains fine aggregate) is appropriate for joints wider than one-eighth of an inch and provides additional strength; unsanded grout is smoother and better suited for narrow joints where the aggregate would cause cracking. After the grout cures — typically 24 to 72 hours depending on product and humidity — apply a penetrating grout sealer to reduce porosity and slow staining.
One often-overlooked principle: if you discover soft drywall, a spongy subfloor, or persistent musty odor behind or beneath your tile work, stop and consult a licensed contractor before proceeding. Hidden moisture damage may involve structural repairs that go well beyond surface maintenance. The same logic applies to waterproofing challenges elsewhere in your home — see common waterproofing misconceptions for context on what sealers can and cannot do.
Quick Wins to Start This Weekend
Consistent, low-effort habits extend the life of grout and caulk significantly. The actions below require minimal tools and deliver outsized protection against the water intrusion that drives costly repairs.
Keeping your bathroom surfaces in good condition is one of the highest-return maintenance tasks a homeowner can perform — far less disruptive and expensive than the structural repairs that follow neglect.

Author
Home & Garden Editorial Team
Home & Garden Editorial Team is the collective byline for our editorial team and contributor network. Articles published under this byline or an editorial pen name are researched, written, and reviewed according to our editorial standards for clarity, consistency, and independence before publication.
View all articles →