
Composting at Home: Turning Kitchen and Yard Waste Into Garden Gold
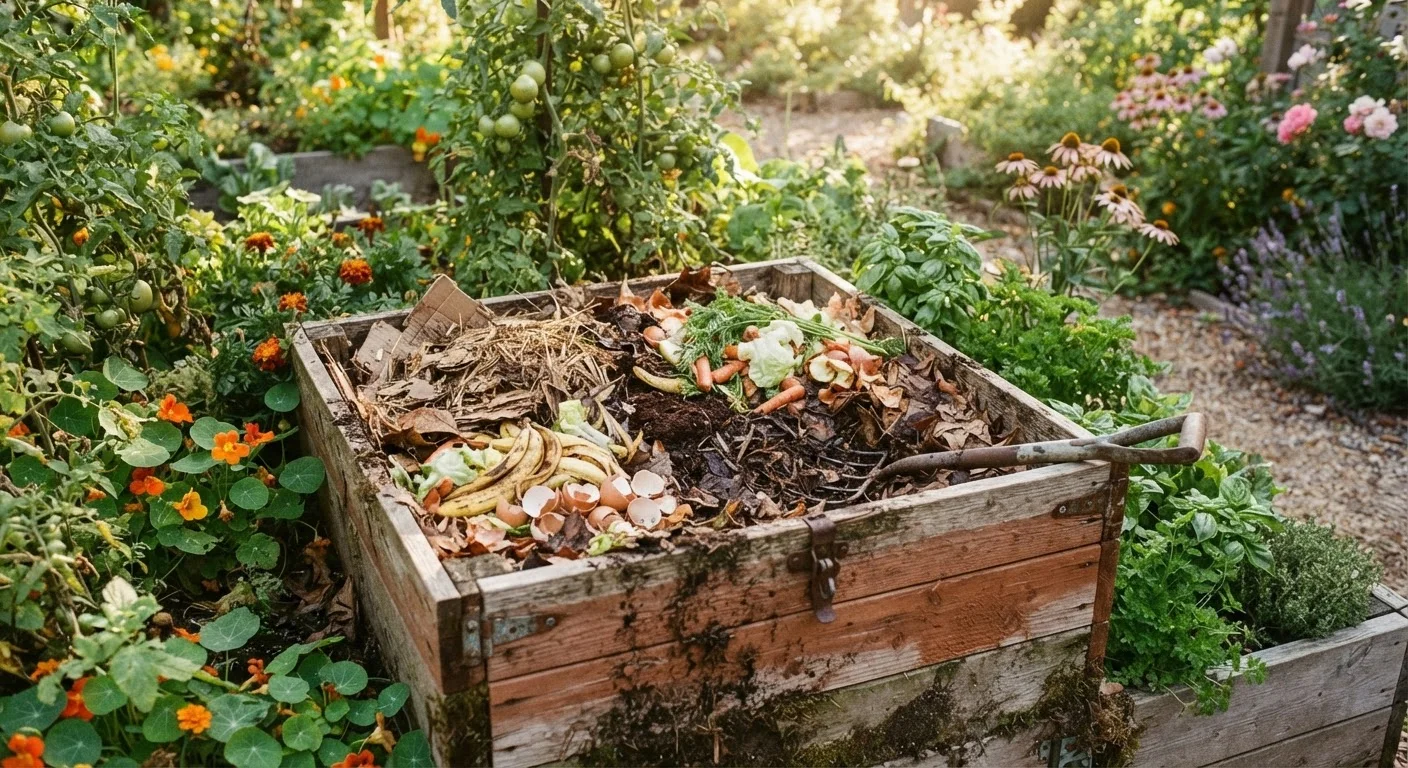
Photo credit: ExplorerGrid.com | Endless Grid Of Factual Content
In this article
Learn how composting works, what to include or avoid in your pile, and how to keep the process moving through every season.
Key Takeaways
- Successful composting requires balancing carbon-rich 'browns' with nitrogen-rich 'greens' in roughly a 3:1 ratio.
- Meat, dairy, oily foods, and diseased plants should stay out of a home compost pile.
- Turning the pile every one to two weeks speeds decomposition significantly.
- Finished compost looks and smells like dark, crumbly soil — not identifiable as its original ingredients.
- Compost can be produced year-round, though cold winters slow the process considerably.
- Home compost enriches garden soil structure, drainage, and nutrient availability without synthetic additives.
What Composting Actually Does for Your Soil
Composting is the managed decomposition of organic material into a stable, humus-rich amendment that improves nearly every type of garden soil. When you dig finished compost into a bed, you're adding a slow-release source of nutrients, increasing the soil's ability to hold moisture, and feeding the microbial communities that make nutrients available to plant roots.
Understanding what compost does helps you use it wisely. Our guide to soil amendments explains how compost compares to other additives — including when it's the right choice and when your soil may need something else alongside it. Whether you're starting a vegetable garden or enriching established beds, homemade compost is one of the most cost-effective improvements available to any gardener.
Compost Improves Almost Any Soil Type
Whether your garden sits on sandy soil that drains too quickly or dense clay that compacts and holds too much water, finished compost improves both. It binds sandy particles to hold more moisture and nutrients, while loosening clay to improve drainage and root penetration. Even a 1–2 inch layer worked into the top 6 inches of soil makes a measurable difference season over season.
What to Add — and What to Keep Out
A healthy compost pile is built from two categories of material, often called browns and greens.
- Browns (carbon-rich): dry leaves, cardboard torn into pieces, straw, paper bags, wood chips, and shredded newspaper.
- Greens (nitrogen-rich): vegetable and fruit scraps, coffee grounds, fresh grass clippings, garden trimmings, and eggshells.
Aim for roughly three parts browns to one part greens by volume. Too many greens produces a slimy, odorous pile; too many browns slows decomposition to a crawl.
Keep these out of your pile: meat, fish, bones, dairy products, oily or greasy food, pet waste, and any plant material showing signs of disease or pest infestation. These materials either attract animals, spread pathogens, or decompose poorly in typical home conditions.
Never Compost Diseased Plant Material
Plants affected by fungal diseases, bacterial blights, or severe pest infestations should go in the trash — not the compost pile. Home compost piles rarely sustain the sustained high temperatures needed to neutralize many pathogens. Applying compost made from diseased material risks spreading the problem to healthy beds the following season.
Setting Up Your Compost System
Before adding a single scrap, decide on a containment method that fits your space and volume of material. Common options include open wire bins, wooden pallet enclosures, plastic tumbler bins, and simple open piles in a back corner. Each has trade-offs in airflow, moisture control, and aesthetic impact. Tumblers are tidier and faster; open piles handle larger volumes more easily.
Choose a location that gets partial shade, is close enough to the kitchen to make scraps convenient to carry, and sits on bare soil (allowing drainage and access by earthworms). Avoid placing a pile directly against a wooden fence or structure — sustained moisture can damage the material over time.
What you will need
How to Build and Maintain Your Pile
Follow these steps to build a functional compost pile from scratch and keep it productive through the seasons. If you're also working on fall garden preparation, autumn is an ideal time to start — fallen leaves provide an abundant supply of carbon material.
Collect your browns in advance
Before you start layering, stockpile a supply of carbon-rich material — a bag or bin of dry leaves works well. Having browns on hand lets you balance every green addition immediately, preventing odors from the start.
Start with a base layer of coarse browns
Lay down a 4–6 inch base of coarse material — wood chips, straw, or small twigs — directly on the ground. This base layer promotes airflow from below and helps excess moisture drain rather than pool at the bottom of the pile.
Alternate green and brown layers
Add a 2–3 inch layer of greens (kitchen scraps, grass clippings), then cover with a 4–6 inch layer of browns. Continue alternating as you add material over time. Chop or shred larger items — smaller pieces decompose faster because microbes have more surface area to work with.
Check and adjust moisture
Squeeze a handful of pile material. It should feel like a damp — but not dripping — sponge. If it's too dry, sprinkle water while turning. If it's sopping wet, add dry browns and turn to increase airflow. Moisture is the single most common variable that stalls backyard piles.
Turn the pile regularly
Use a garden fork or compost aerator to turn the entire pile every one to two weeks. Move material from the outer edges to the center, where heat is highest. Regular turning introduces oxygen, which accelerates microbial activity and can significantly reduce your composting timeline.
Harvest finished compost
When the bottom portion of the pile has transformed into dark, crumbly, earthy-smelling material, it's ready to use. Many gardeners use a two-bin system — one actively building, one finishing — to ensure a continuous supply. Sift the finished compost through a ½-inch screen to remove any large chunks that can go back into the active pile.
Troubleshooting Common Problems
Even well-built piles run into issues. Here's how to read the signs and correct course:
- Pile smells like ammonia
- Too many greens. Add a thick layer of dry leaves or cardboard and turn thoroughly.
- Pile smells like rotten eggs
- The pile is too wet and anaerobic. Turn it to introduce oxygen, and add dry browns to absorb moisture.
- Nothing is breaking down
- The pile is too dry, lacks nitrogen, or is too small. Add water until material is damp as a wrung-out sponge, add green material, and ensure the pile is at least 3 cubic feet in volume.
- Pests are getting in
- Bury food scraps in the center of the pile rather than placing them on top. A lidded bin or wire mesh lining deters larger animals.
Finished compost is ready when it looks uniformly dark and crumbly, smells like fresh earth, and you can no longer identify any original ingredients. Work it into beds or use it as a top dressing — it integrates beautifully into raised beds and in-ground plots alike, and even small amounts benefit container gardens.

Author
Home & Garden Editorial Team
Home & Garden Editorial Team is the collective byline for our editorial team and contributor network. Articles published under this byline or an editorial pen name are researched, written, and reviewed according to our editorial standards for clarity, consistency, and independence before publication.
View all articles →